
Sign up to save your podcasts
Or



On September 20th, 1917, at the Battle of Menin Road, Private Roy Inwood lay in the mud east of Ypres. His brother had died at Pozières the year before. In three hours, Roy would earn the Victoria Cross. The day after, he'd be dead.
Nearby, three brothers from Petersham waited with their unit. By nightfall, their mother would have lost all three sons.
After weeks of catastrophic failures under General Gough, Field Marshal Haig transferred command to General Herbert Plumer. In this episode, Mat McLachlan reveals how Plumer's methodical genius transformed the offensive: three weeks of preparation, limited objectives, overwhelming firepower—one gun for every five yards of front—and revolutionary tactics that reversed traditional doctrine.
From predawn assembly through torrential mist to the devastating creeping barrage, we follow the 1st and 2nd Australian Divisions executing what Charles Bean called "probably their zenith"—the most perfectly coordinated attack of the war.
Why did German counter-attacks fail so catastrophically? How did Plumer's "bite and hold" change tactical doctrine? What drove Roy Inwood to advance alone through his own barrage—twice?
"Nothing I have heard in this world or can in the next could possibly approach its equal." - Australian soldier describing the barrage
Episode Length: 42 minutes
Features: Frank Hurley's battlefield diary, German assessments of defensive collapse, and the Seabrook brothers' final day.
Next Episode: Polygon Wood—the high point of the offensive.
Presenter: Mat McLachlan
Producer: Jess Stebnicki
Ready to walk the battlefields? Join Mat's exclusive European tours: https://battlefields.com.au/
Find everything Mat is doing at https://linktr.ee/matmclachlan
For more history: https://www.LivingHistoryTV.com
Hosted on Acast. See acast.com/privacy for more information.
 View all episodes


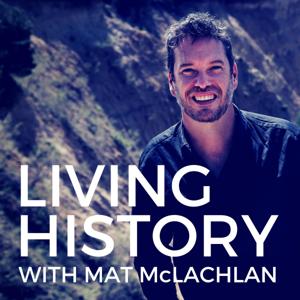
 By Mat McLachlan


4.8
1818 ratings

On September 20th, 1917, at the Battle of Menin Road, Private Roy Inwood lay in the mud east of Ypres. His brother had died at Pozières the year before. In three hours, Roy would earn the Victoria Cross. The day after, he'd be dead.
Nearby, three brothers from Petersham waited with their unit. By nightfall, their mother would have lost all three sons.
After weeks of catastrophic failures under General Gough, Field Marshal Haig transferred command to General Herbert Plumer. In this episode, Mat McLachlan reveals how Plumer's methodical genius transformed the offensive: three weeks of preparation, limited objectives, overwhelming firepower—one gun for every five yards of front—and revolutionary tactics that reversed traditional doctrine.
From predawn assembly through torrential mist to the devastating creeping barrage, we follow the 1st and 2nd Australian Divisions executing what Charles Bean called "probably their zenith"—the most perfectly coordinated attack of the war.
Why did German counter-attacks fail so catastrophically? How did Plumer's "bite and hold" change tactical doctrine? What drove Roy Inwood to advance alone through his own barrage—twice?
"Nothing I have heard in this world or can in the next could possibly approach its equal." - Australian soldier describing the barrage
Episode Length: 42 minutes
Features: Frank Hurley's battlefield diary, German assessments of defensive collapse, and the Seabrook brothers' final day.
Next Episode: Polygon Wood—the high point of the offensive.
Presenter: Mat McLachlan
Producer: Jess Stebnicki
Ready to walk the battlefields? Join Mat's exclusive European tours: https://battlefields.com.au/
Find everything Mat is doing at https://linktr.ee/matmclachlan
For more history: https://www.LivingHistoryTV.com
Hosted on Acast. See acast.com/privacy for more information.
185 Listeners
38 Listeners
16 Listeners